DIY Solutions for Troubleshooting Fish Finder Battery Issues
Fishing enthusiasts rely heavily on fish finders to enhance their experience on the water. These devices offer invaluable insights into underwater environments, helping anglers locate fish more effectively. However, like any electronic device, fish finders can sometimes face battery-related issues that can disrupt your fishing day. If you’re encountering problems with your fish finder battery, don’t panic! With a few DIY solutions, you can troubleshoot and potentially resolve the issue yourself.
Understanding Fish Finder Batteries
Before diving into troubleshooting, it’s essential to understand the type of battery your fish finder uses. Most fish finders operate on either lead-acid batteries (sealed or flooded) or lithium-ion batteries. Each type has its own characteristics, maintenance requirements, and lifespan.
Common Symptoms of Battery Issues
- Fish Finder Won’t Power On: The most obvious sign of a battery issue is when your fish finder fails to power on.
- Screen Flickering or Dimming: If the display is inconsistent or flickers, it may indicate insufficient power.
- Short Battery Life: If your battery drains much faster than usual, it could be a sign of a deeper issue.
- Charging Problems: If the battery doesn’t hold a charge or takes an unusually long time to recharge, it’s time to troubleshoot.
DIY Troubleshooting Steps
Step 1: Check Battery Connections
Loose or corroded connections can lead to power issues. Start by inspecting the battery terminals. Ensure that the connections are clean and tight. Use a wire brush or a mixture of baking soda and water to clean any corrosion from the terminals. After cleaning, reattach the connections securely.
Step 2: Test the Battery Voltage
Using a multimeter, you can check the voltage of your fish finder battery. For a lead-acid battery, a fully charged battery should read around 12.6 volts or higher. If the voltage is significantly lower, it may indicate that the battery is undercharged or failing. For lithium-ion batteries, consult the manufacturer’s specifications for proper voltage levels.
Step 3: Inspect the Battery
Physically inspect the battery for any signs of damage, such as swelling, leaking, or cracks. If you notice any of these issues, it may be time to replace the battery. Additionally, check the age of your battery. Most lead-acid batteries last around 3-5 years, while lithium-ion batteries can last longer if maintained properly.
Step 4: Charge the Battery
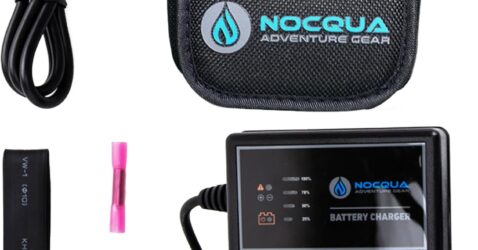
If the battery is undercharged, try recharging it using the appropriate charger. Ensure you’re using the correct charger for your battery type, as using the wrong charger can cause damage. After charging, test the voltage again to see if it holds a charge.
Step 5: Test with a Different Battery
If you have access to another compatible battery, try swapping it with your current one. This can help you determine whether the problem lies with the battery or the fish finder itself. If the fish finder works with a different battery, it’s time to consider replacing your original battery.
Step 6: Check the Fish Finder Settings
Sometimes, the issue may not be with the battery but rather with the fish finder settings. Ensure that the device is configured correctly and not running unnecessary features that could drain the battery. For instance, turning off backlighting or sonar features when not in use can help conserve power.
Step 7: Review the Charging System
If you’re using a boat battery system, ensure that the charging system is functioning correctly. Check the alternator if applicable, and inspect any wiring leading to the battery. A faulty charging system can lead to battery undercharging and ultimately affect the performance of your fish finder.
Conclusion
Troubleshooting battery issues with your fish finder doesn’t have to be a daunting task. By following these DIY solutions, you can identify and resolve common problems that may arise. Always remember that regular maintenance and inspections can prevent many battery-related issues before they occur. If after all these steps your fish finder still fails to operate correctly, it may be time to consult a professional for further assistance.
By taking a proactive approach, you can ensure a reliable power source for your fish finder, enhancing your fishing experience and maximizing your time on the water. Happy fishing!

